
By Angelique D’Alessandro
Executive Editor
|
What you’ll need: |
|
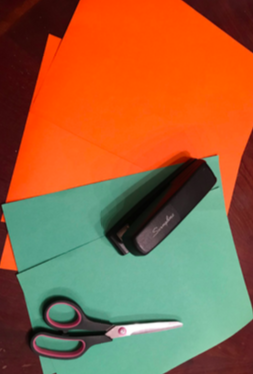 To make easy-to-construct paper pumpkins, first cut the orange construction paper into strips. For my pumpkin, I used two sheets of orange paper to make a total of 11 strips.
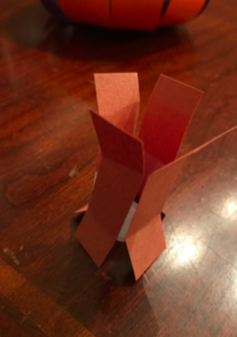
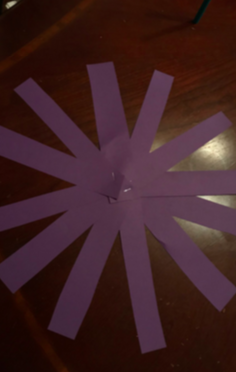 Arrange the strips like an asterisk, and staple the overlapping ends in the center.
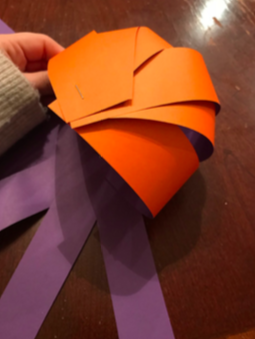 Once you have made the basic shape, lift the strips and begin connecting the other side in the same way you connected the bottom. As you connect this side of the paper, the round shape of a pumpkin should begin to form. Once the strips are entirely connected on both sides, you will have the base for the body of your pumpkin.
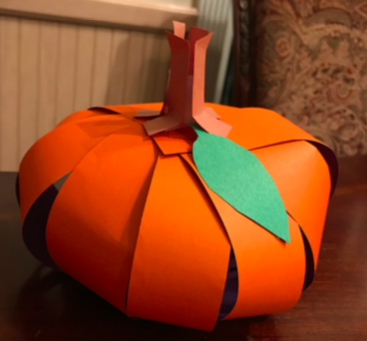
Next, make a leaf for your pumpkin using the green construction paper. Trace the shape of the leaf and cut it out. Connect the leaf onto the body of the pumpkin with tape.
Finally, cut four small, short strips of brown construction paper to begin making your pumpkin’s stem. Lay the four strips side by side, connecting them with tape. Bend the bottom of the strips and then connect the bent pieces to the top of your pumpkin with tape to complete your adorable D.I.Y. paper pumpkin.


Be First to Comment