By Melissa Ponton
Copy Editor

Materials Needed:
- One large tray (aluminum for easy disposal)
- One can of shaving cream
- Paint in various colors of your choosing
- Card stock
- Cordage of some kind (I used natural raffia)
- Scissors
- Disposable mixing spoon
- Paper towels or an old towel
Optional Materials:
- Templates to trace
It’s that time of year again where it’s not appropriate to be spooky, but still way too early for Christmas. For this week’s craft, we present to you – shaving cream leaves! The best part is that everything can easily be brought from the dollar store, so this is both a budget safe and festive project.
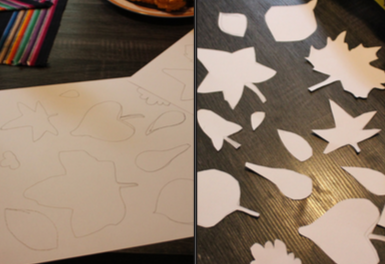
Step 1: Trace and/or freehand your leaves in various sizes on the card stock. All you need to draw are the silhouettes, so don’t worry about the details. If you need help, look up leaf shapes and you’ll have plenty of shapes to choose from. For an alternative method, you can print out the leaf silhouettes on the card- stock directly. Remember – no leaf is perfectly symmetrical or exactly the same, so don’t worry about the shapes too much. Then cut out the leaves and place them to the side.
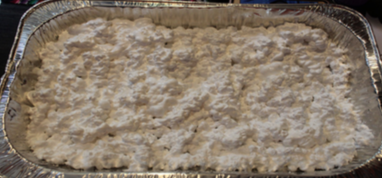
Step 2: Take your tray and spray the shaving cream into it. Cover the entire bottom of the pan, and feel free to use the entire can.
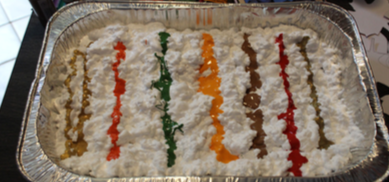
Step 3: Take your paints and put a line of each color on top of the shaving cream. I added some metallic paints I had on hand to add some shine and glitter to the leaves.
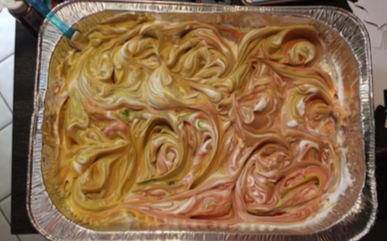
Step 4: Take your stick/plastic silverware and begin to mix the shaving cream and paints together. Try mixing them together in multiple directions, but not so much that it becomes muddled. If you’re unsatisfied with the color mixing, add some more of the paint and just keep mixing.

Step 5: Take your card stock leaves and insert them face down into the shaving cream mixture. Make sure each part of the leaf is fully inserted into the mix. Allow the leaves to sit in the tray for about two minutes.
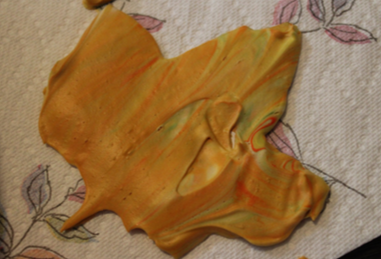
Step 6: Take one leaf out of the mix and place it onto the paper towels/towel with the shaving cream side up. Next, using either a stick, the blunt side of a plastic knife, or your finger, spread the mixture away from the leaf. If you see any white spots you wish to cover, add some of the spread off shaving cream and then spread it off again. Continue to do this for the rest of the leaves. Let the leaves dry for about a half hour.
Step 7: Take your dry leaf and poke a hole with scissors in order to insert it onto the cordage. Be careful with the scissors though, because you can very easily puncture yourself. Poke holes into remaining leaves.
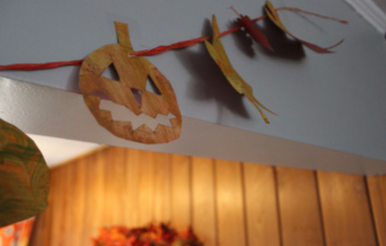
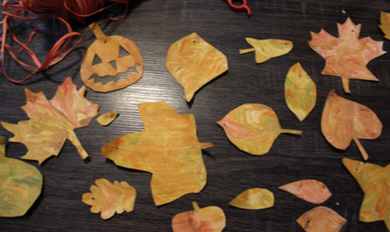
Step 8: Take your cordage and cut it to your desired length. Then insert each leaf onto the cord. Voila! You now have your own leaf garland.
This craft can very easily be altered for any holiday and can be made into a variety of decorations. For my garland, I made pumpkins and jack-o-lanterns in order to add a little pizazz. You can also use this method to make a wreath. Simply follow steps one to six, and instead glue the dry leaves to a styrofoam, foam, or cardboard garland base. Have a festive fall!


Be First to Comment